1.基本安裝設定
1.Java 安裝(JAVA+JRE)
1-1 eclipse 初次使用者: 安裝adt-bundle (包含eclipse + android sdk +android platform tools)
已是eclipse的使用者: 加裝android sdk,並於sdk中選擇安裝android platform tools(ex:4.0,2.0..)
2.執行eclipse
3.設定workspace
4.模擬器AVD Manager 新增AVD
設定:HVGA/512MB
Start: Scale display to resize
Screen size(in): 5
Launch
模擬器每次啟動很慢,啟動後就不要關
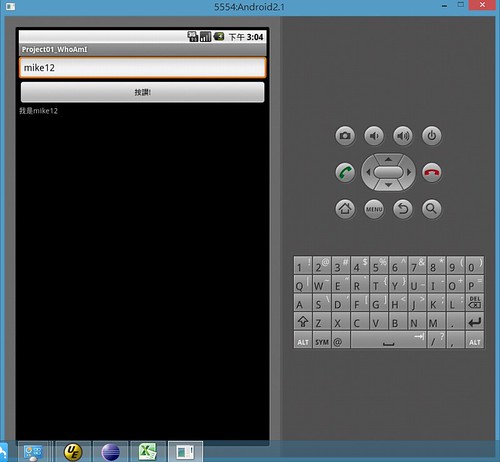
2.元件練習
1.使用editText,button,textview 元件
設定fill_parent
2.setOnClickListener,輸入new 按alt+/
會列出Event清單,選擇OnClickListener
自動產生匿名function
       final EditText ed1=(EditText)findViewById(R.id.editText1);;
        Button btn1=(Button)findViewById(R.id.button1);
        final TextView tv1=(TextView)findViewById(R.id.textView1);;
           //new alt+/
        btn1.setOnClickListener(new Button.OnClickListener() {

			public void onClick(View v) {
				// TODO Auto-generated method stub
				tv1.setText("我是"+ed1.getText().toString());
			}
		});
3.Application Component
四大元件:Activity, Service, Broadcast receiver, Content Provider
Activity:UI/互動/費時的放到Service/避免ANR(Android is Not Responding)
Life Cycle要記熟
Service:長時間執行,無UI
ex:撥放音樂,接收網路,壓縮
利用binding
Activity轉換:Intent
IntentActivity
 public void onCreate(Bundle savedInstanceState) {
        super.onCreate(savedInstanceState);
        setContentView(R.layout.main);
        final EditText ed =  (EditText)findViewById(R.id.editText1);
        Button btn1 = (Button)findViewById(R.id.button1);
        Button btn2 = (Button)findViewById(R.id.button2);

        btn1.setOnClickListener(new Button.OnClickListener() {
			public void onClick(View v) {
				//Start the activity connect to the Result
				try{
					Intent intentResult=new Intent(Project01_IntentActivity.this,ResultAcvivity.class);
					intentResult.putExtra("username", ed.getText().toString());
					startActivity(intentResult);
					Log.e("IntentActivity","ed.getText="+ed.getText().toString());
				}catch(Exception e){
						Log.e("IntentActivity",e.toString());
				}

			}
		});
ResultActivity
protected void onCreate(Bundle savedInstanceState) {
		// TODO Auto-generated method stub
		super.onCreate(savedInstanceState);
		  setContentView(R.layout.main2);
		try{
			 TextView tv=(TextView)findViewById(R.id.textView1);
			 Intent intent=getIntent();
			 tv.setText("我是Activity2,username="+intent.getStringExtra("username"));
		}catch(Exception e){
			 Log.e("ResultAcvivity",e.toString());
		}
	}
1.建立2個Activity
1.1 Package右鍵new Class
1.2 Name:ex: ResultActivity
1.3 Supperclass 選擇android.app.Activity
2.AndroidMainfest.xml
2.1雙擊後,點選設定頁面:Application/Application Nodes/Add
2.2選擇Activity
2.3Attributes for Activity:輸入Name(或Browser選擇Class,ResultActivity)

 留言列表
留言列表